
Wing Clipping
Proper wing clipping is essential for pet birds. Too many flighted birds escape, crash into windows, are killed by fellow pets, fly into ceiling fans and open water containers, etc. Some people claim to have “bird-proofed” their home enough to allow free-flight, but there could still be many unforeseen hazards. If you do not live alone, you also have to rely on other people to close doors and windows and keep them closed when a flighted bird is out. One small miscommunication could lead to an escaped bird. In addition, free-flight causes some birds to become territorial and hard to handle.
When to clip:
Birds do not molt all their feathers at once. If they did, they wouldn’t be able to forage for food and escape from predators. Instead, they lose one or two feathers at a time in alteration. Since most birds (especially the smaller ones) can fly with only one or two primary feathers, it is important that you clip each individual feather after it’s grown back. Don’t wait until all the primaries have grown back before taking your bird to be clipped.
Many people seem afraid/unwilling to clip their own birds. It’s a simple procedure that anyone can (and should) learn. Some people are afraid their birds won’t like them if they do the clipping themselves. This is nonsense. I’ve been clipping all my own birds for over 25 years and no one has ever held a grudge. As long as clipping is done quickly and painlessly (don’t cut bloodfeathers) birds will forget about it five minutes later.
How to clip:
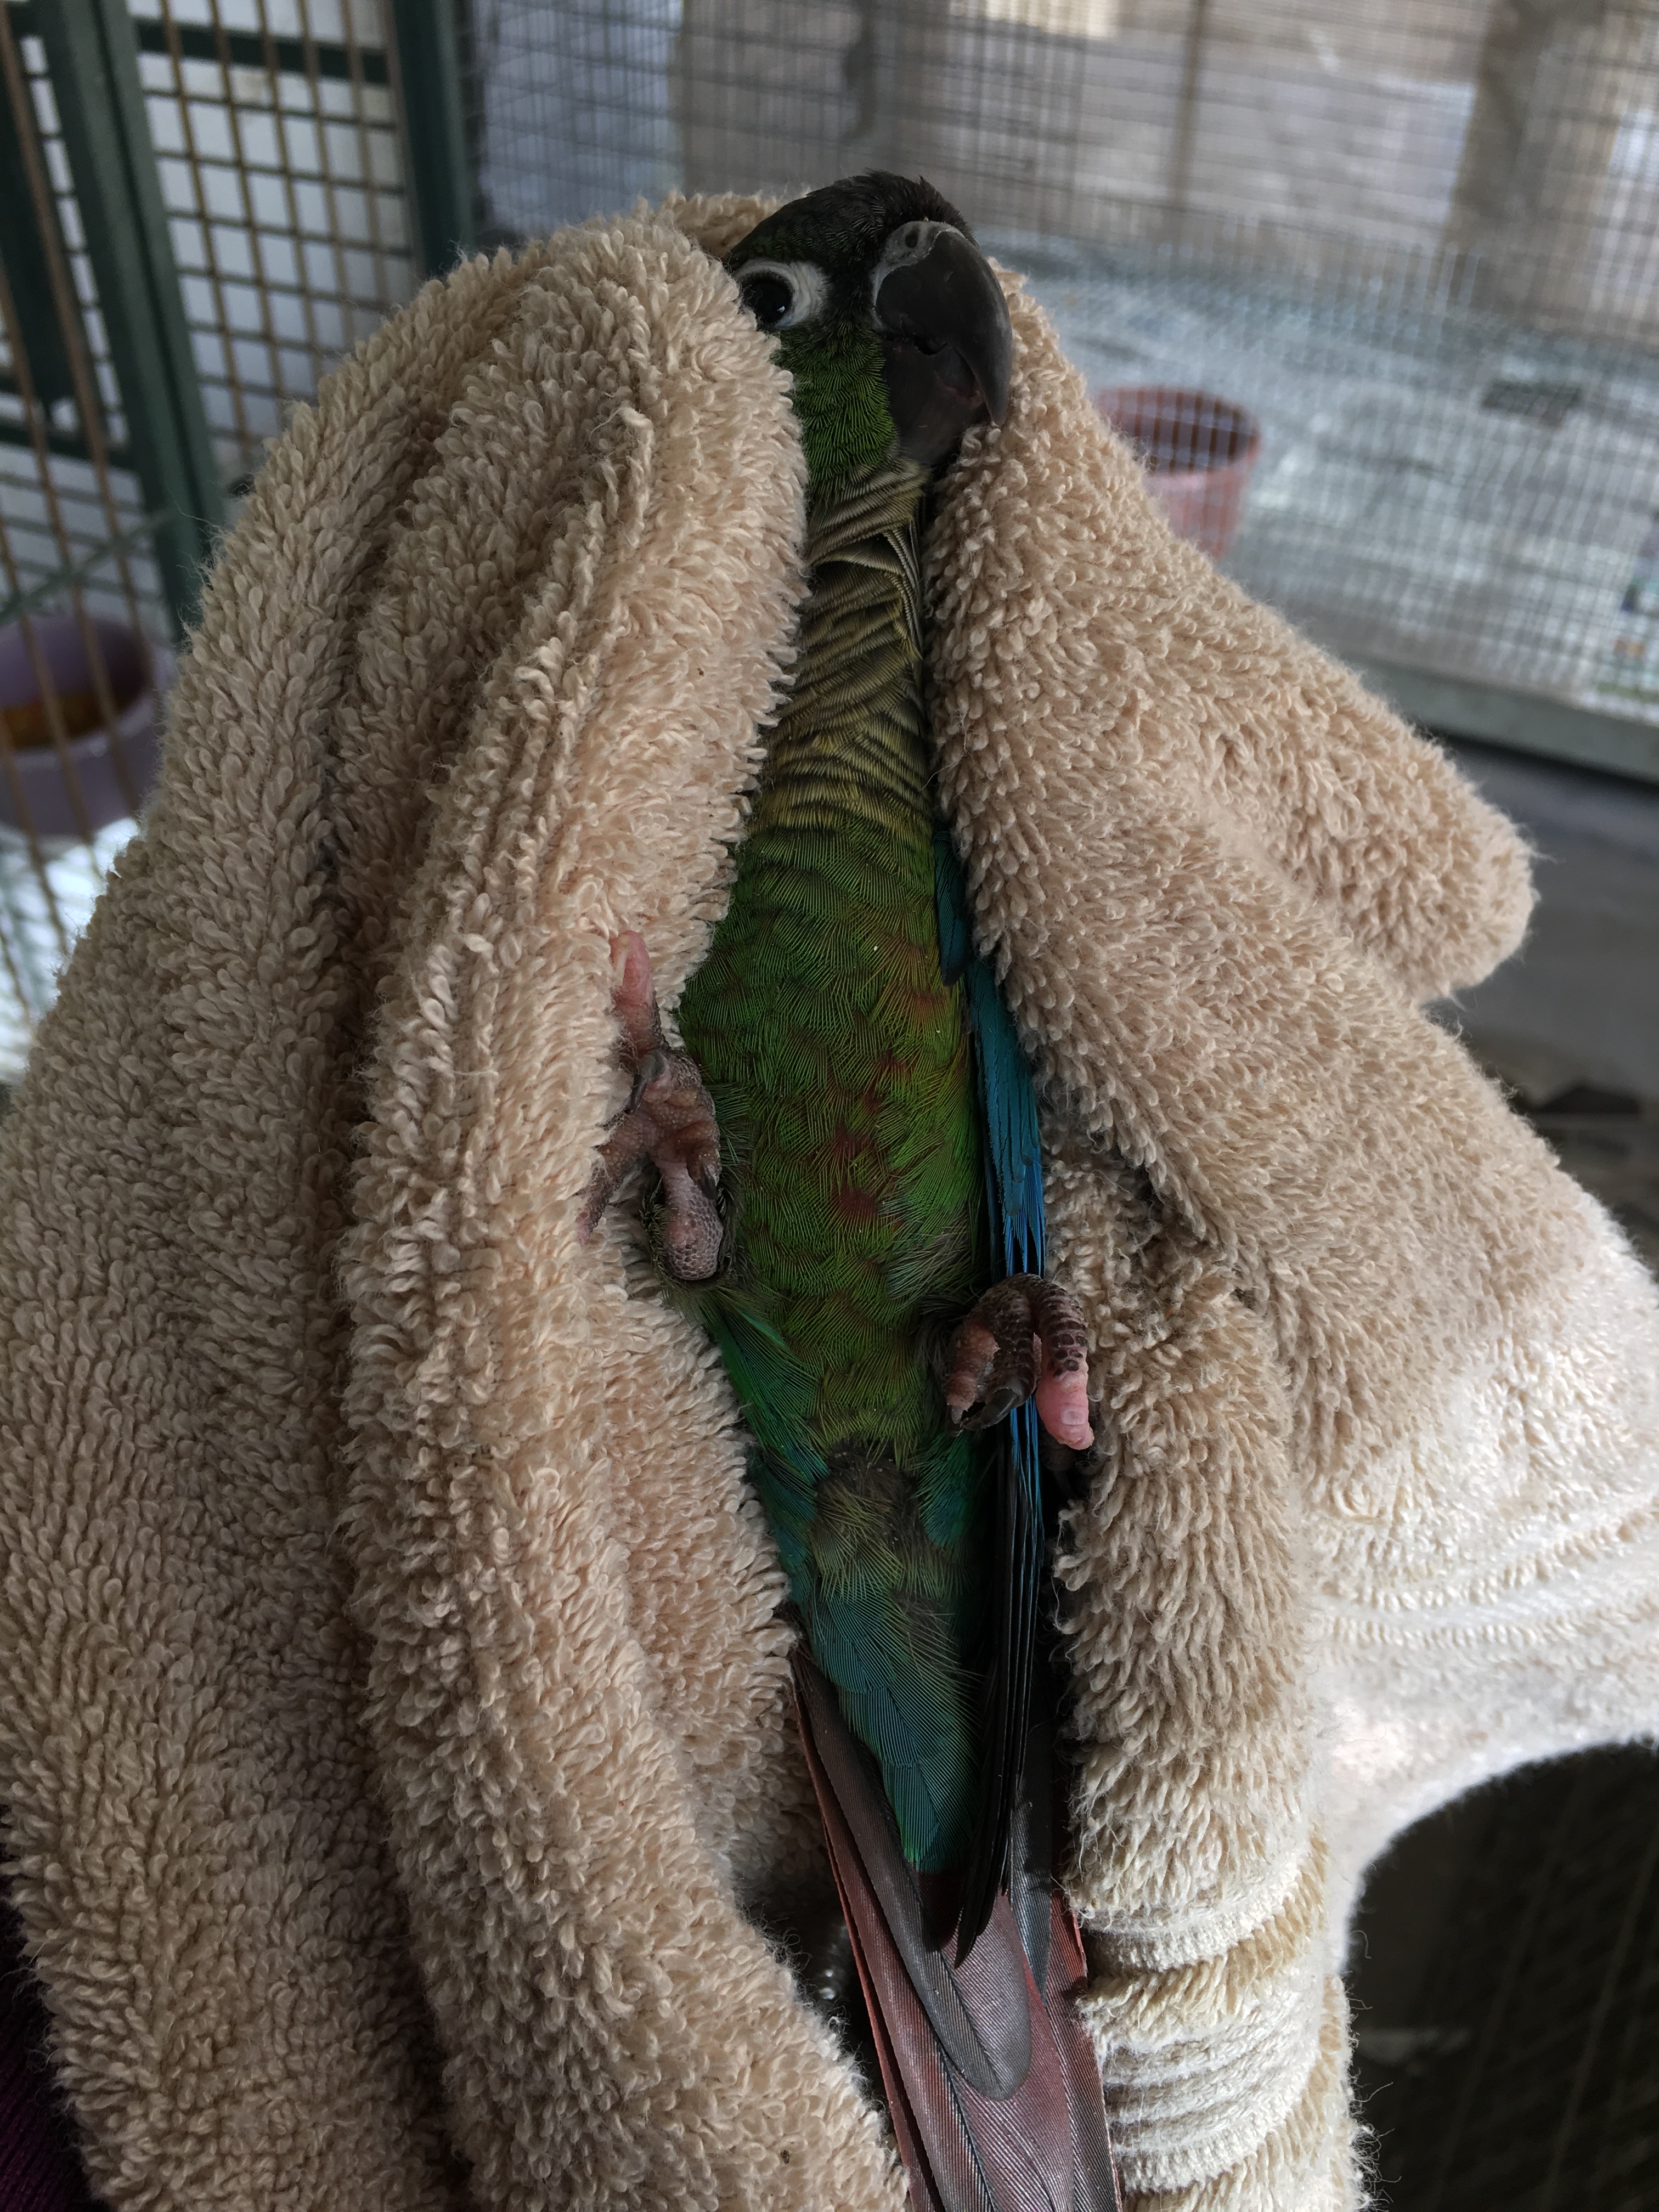
I highly recommend getting your birds used to playing with their wings. It makes clipping much easier. If your bird does not allow you to touch or extend its wings, you will need to restrain it. Use a thin shirt for small species and a towel for large ones. Small birds can be held in one hand and clipped with the other. With larger birds an assistant is needed. One person should hold and the other should cut, although an experienced person can do both.
Catch the bird using a towel and position it so that the head is out. You want the cheeks/jaw between your fingers. Do NOT squeeze your bird tight. Grasping the chest is dangerous and unnecessary. The goal is to restrict movement of the wings and the beak. A flailing bird can injure itself and a stray beak will happily take a chunk out of you. The lower mandible needs be between your fingers. If positioned correctly, this prevents the bird from biting. The wings should be held against the body until they are brought out for clipping.
Small birds easily fit in one hand. I usually catch with my right hand, then move them to the left while I clip (I’m right-handed).
The feathers that need to be clipped are the primaries (1). These are what provides the power for flight. In small birds 7-10 feathers should be cut because these guys can get lift very easily. Large species often fall like rocks when only a few are cut. Two – five is standard for larger species. Never cut too far up (see red line). There should still be some space (at least a cm) between the edge of the cut primaries and the feathers above.


Feathers are made of keratin- the same stuff fingernails are made of- and do not hurt when cut. The only exception would be bloodfeathers. Never cut a bloodfeather!
Nail Trimming
Feathers are easier to clip than nails because it’s easy to recognize a blood feather and much harder to find the vein in a nail. Some people buy cement or sandpaper perches in an attempt to keep nails trimmed. These can actually irritate bird feet. As with all perches, it is important to have a variety of textures and widths so that feet don’t develop sores. A single grooming perch is fine so long as your bird has other options like wood or rope.
When to cut:
Learn to judge on your own. If your bird is tripping or the nails are catching on your clothing then it’s time.
How to cut:
Some birds don’t even need to be restrained for nail clipping. With both my GC conure and my tiel, I can let them sit on my finger while I just reach over and snip. You have to be careful with this though since they can move. For my Goffin I just hold her foot while she’s perched and clip. Routinely playing with your bird’s feet can go a long way toward making nail trimming easier.
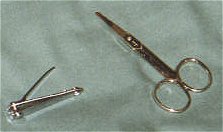
I use human fingernail clippers or nosehair clippers (for smaller species). Get out a towel (or old thin t-shirt for smaller birds) and some flour (in case of bleeding). Some people use Kwik-stop but I’m not a fan.
With small birds that don’t bite very hard you can usually do the job yourself. With major bitters or larger birds it’s better if you have two people. One person should towel the bird and keep the beak out of the way while the other person holds the feet and clips. This should all be done as quickly as possible to minimize stress.

You want to snip off the tip of the nail. If you clip too far up you’ll hit the vein and your bird will bleed. In black nails the vein can be virtually impossible to detect, though if you’re experienced you can avoid it by just using your intuition. Beginners can try pressing down slightly with the clippers first- if the bird flinches, chances are that’s the vein. Some birds squeal or flinch at any pressure though, with or without a vein. Not all cut veins bleed right away so keep an eye on the bird for a minute or two after cutting. Most veins start dripping once the bird begins walking around. Flour stops bleeding pretty well but you may have to hold the bird still for a few minutes to keep the flour from being rubbed off.
Beak
Healthy beaks do not need to be groomed. Unfortunately, there has been a bit of hype about grooming beaks lately, mostly to try and sell beak sanding tools. Only birds with grossly deformed beaks need any grooming. Scaly mites, injuries and vitamin deficiencies can cause the beak to overgrow. In a case like this the bird should be taken to a vet to have the beak done professionally. The beak is not like a toenail. Though it may look solid and plain, the beak is in fact a highly sensitive structure and should only be trimmed by an experienced professional (i.e. avian veterinarian, NOT a random pet store employee).

The left conure needs a beak trim, the right does not. If you look closely, the left bird’s beak is not rounded as it should be, but rather angles down in a straighter line. It’s a mild deformity but has led the beak to overgrow (it took 12 years to get overgrown).

This sun conure has scissor beak, another deformity in which the two sides veer off and do not meet in the middle. Because the upper and lower bill do not grind together during normal use, a bird with scissor beak will need routine beak grooming. As you can see here, the lower bill has overgrown.
© 1997-2016 by Karen Trinkaus. May not be reprinted or used in any way without the author’s permission.

Pingback: O Budgie, Where Art Thou? | Feisty Feathers
Pingback: Acclimating and Taming Your New Bird | Feisty Feathers
Pingback: Sexing | Feisty Feathers